On the suggestion of my good friend Larry NE1S, I ordered a neat little transmitter kit from the good folks at Pastime Projects.
Glenn NN8G promptly shipped the kit and it was soon in my hands and out on the workbench. I was quite impressed with the kit, which is based on a QST article from December 1946, page 33 to 35. The article is entitled “The Most Inexpensive Transmitter, A Complete Crystal Oscillator for $3.95,” and was written by Byron Goodman, W1DX. Click to view or download the article in Adobe PDF format, QST 1949 – Inexpensive Transmitter.
As far as the Pastime kit, Glenn’s documentation and drawings are excellent, and are written so even a beginner would have little problem with assembly. The kit does use some modern components, but as they are under the wooden chassis, they are not noticed during operation. The kit was complete with everything needed to build the rig but solder and hand tools. The quality of the wood finishing is very good, and overall I felt the kit was really a bargain at the selling price of $55 + shipping. A drill press is ideal to drill and countersink the holes, but with some care, one could manage the woodwork with a hand drill. The wooden slats and base, onto which the rig is built, are oak, and nicely finished. The wood can be left as is, or as in my case, finished with a wood stain. A medium soldering iron is all that is required, and there is plenty of space to solder and do good lead dress. I tried to keep the component leads short, and wire dress neat simply for aesthetic reasons, but because the set operates on HF, the layout is pretty forgiving. I had an opportunity to practice my cable lacing skills again, and really enjoyed the project. The tank and antenna coils are wound on a wooden block with a series of nails driven through for the coil form. The kit comes complete with the nails, you just need to supply a bit of scrap wooden for use as the base during winding. The winding process is very direct, no more than 20 turns, which are then secured with lacing cord or string.
I took my time on this one, drilling and staining the wooden chassis with a cherry finish. All in all it took me about 4 nights to finish, at a very leisurely pace while listening to shortwave broadcasts on the National HRO-50. I’d highly recommend this kit as fun and enjoyable way to get your feet wet with building, or if you want to recreate a fun TX to use on the air! The price of the set is quite reasonable, and Glenn even offers a companion power supply kit which can be used with the rig, or with many other low power rigs. John Dilks K2TQN, who authors the monthly vintage radio column in QST, has an nice review of the kit on his excellent website,
located at http://www.eht.com/oldradio/arrl/2008-01/classic-xmtr-kit.htm.
I also contacted Glenn during the build, and he graciously offered to sell me his prototype rig. Thought that would be an interesting project to compare my efforts to, and the deal was made. Photos of Glenn’s rig appear next to my build efforts near the bottom of this page. I’ve got the matching power supply, also built with the same wooden base and slats on order, and will report and post photos when
that build is complete.
Original Article – December 1946
![]() Click on each photo to enlarge.
Click on each photo to enlarge. ![]()
Photo Essay On the Build
![]() Click on each photo to enlarge.
Click on each photo to enlarge. ![]()
-
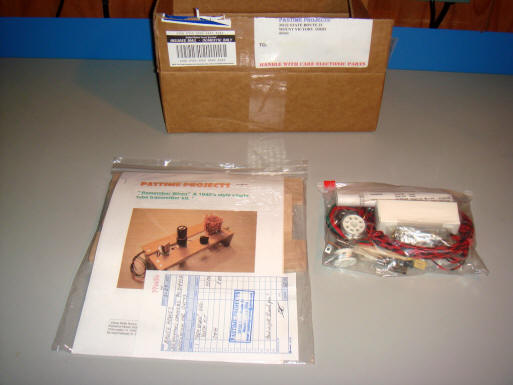
- Pastime Projects kit unpacked
-
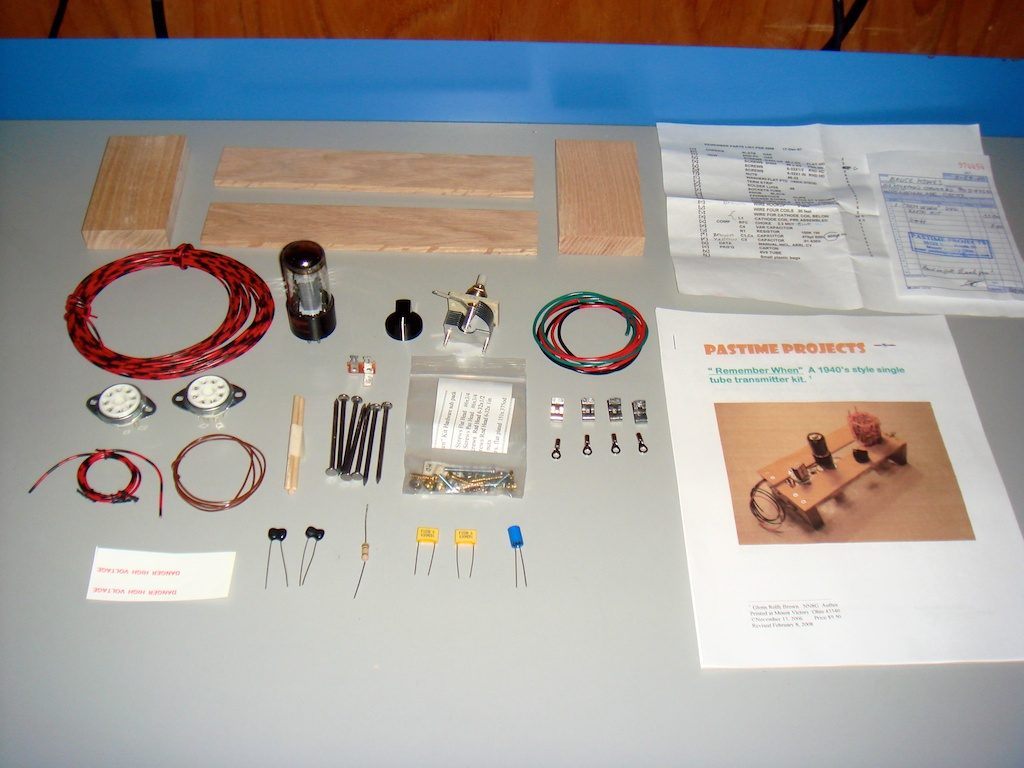
- Parts laid out and inventoried
-
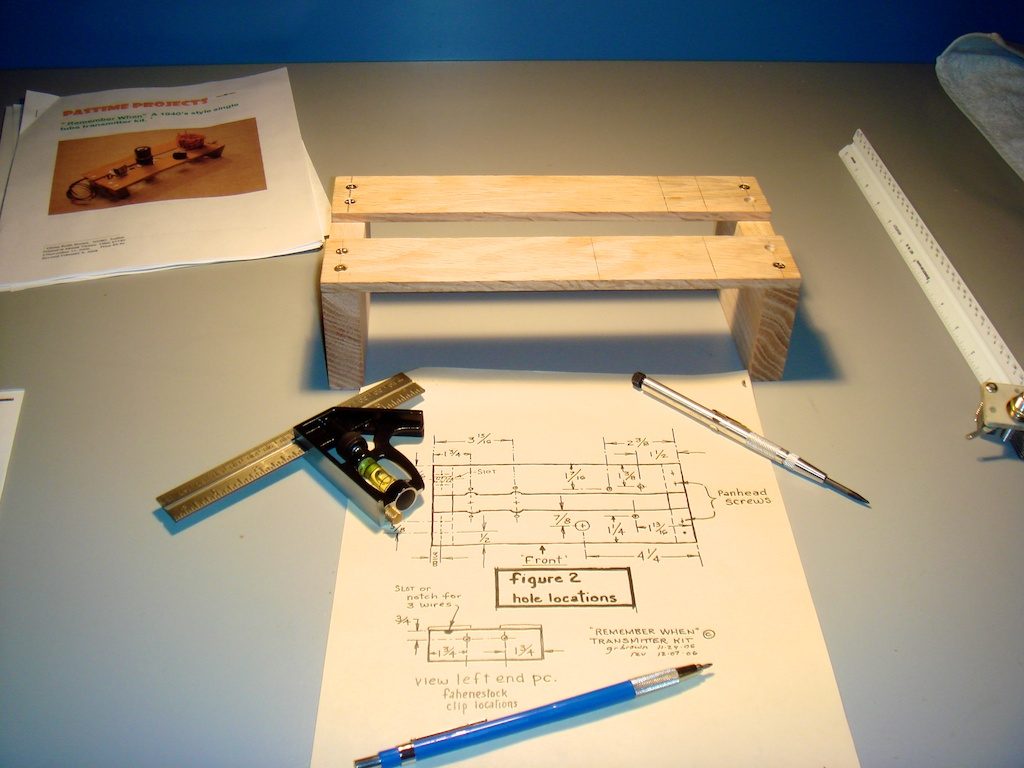
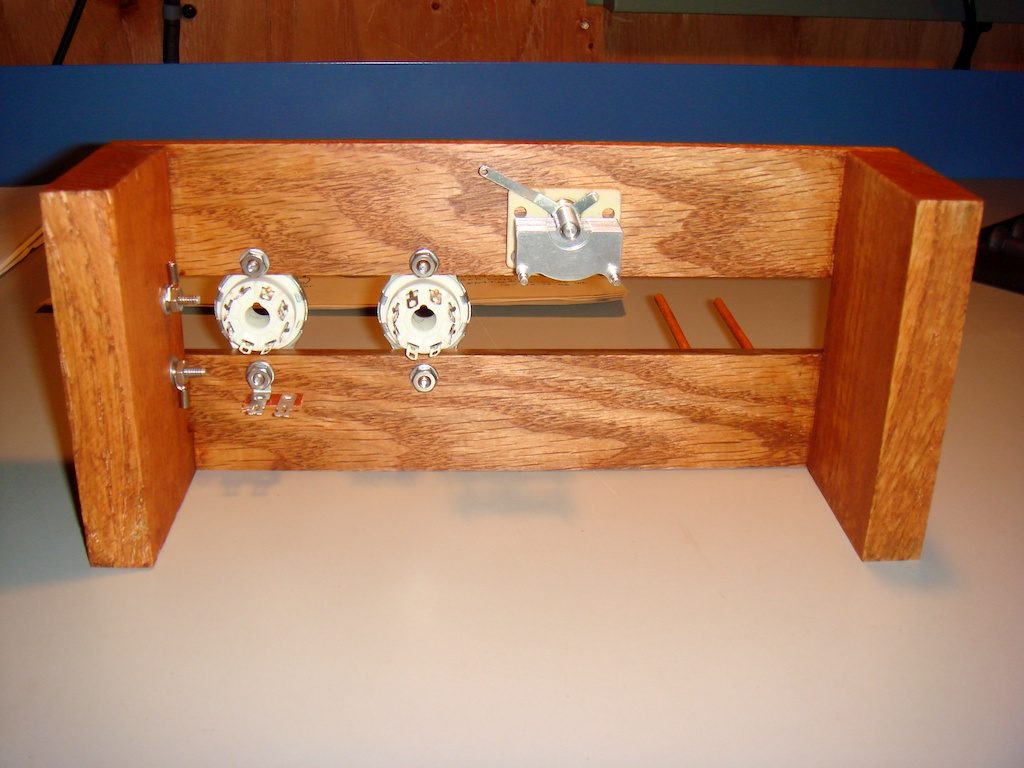
- Layout and test fitting of the wooden – note kit’s excellent documentation
-
- Wooden chassis after finishing with cherry stain
-
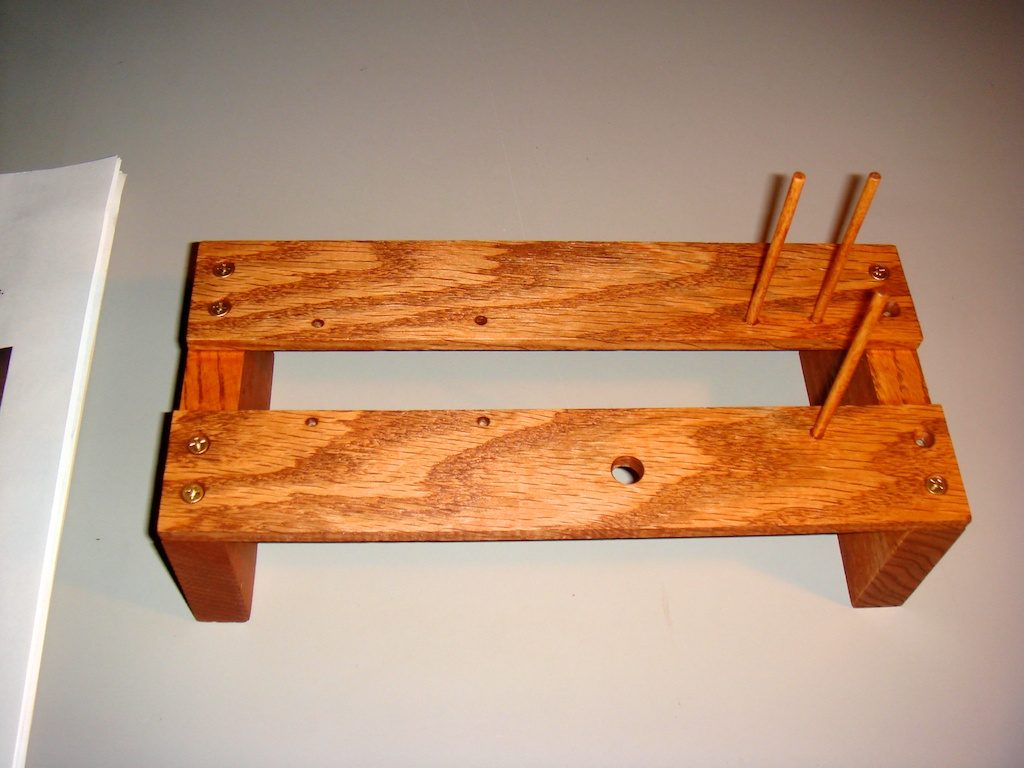
- Parts begin to be mounted on the underside
-
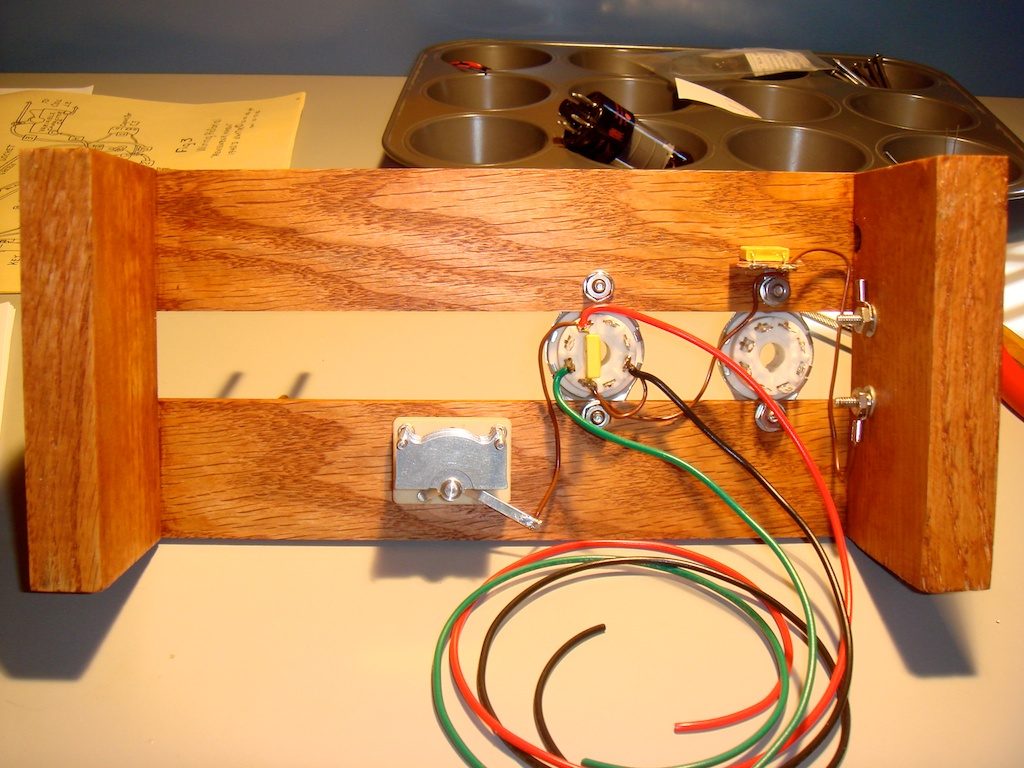
- Underside wiring in progress, pretty simple layout
-
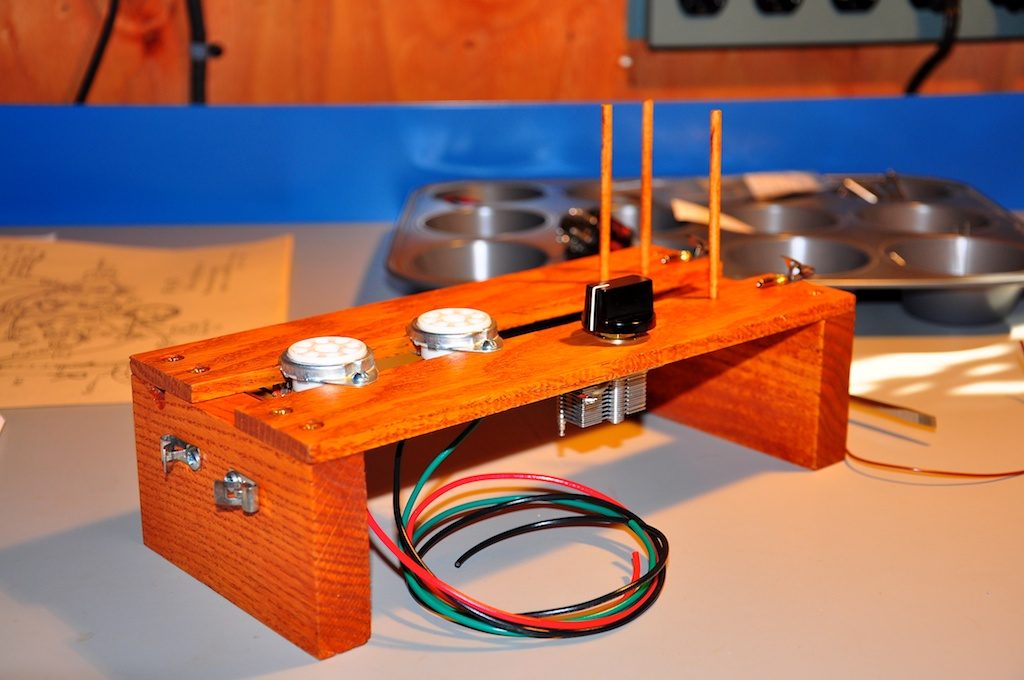
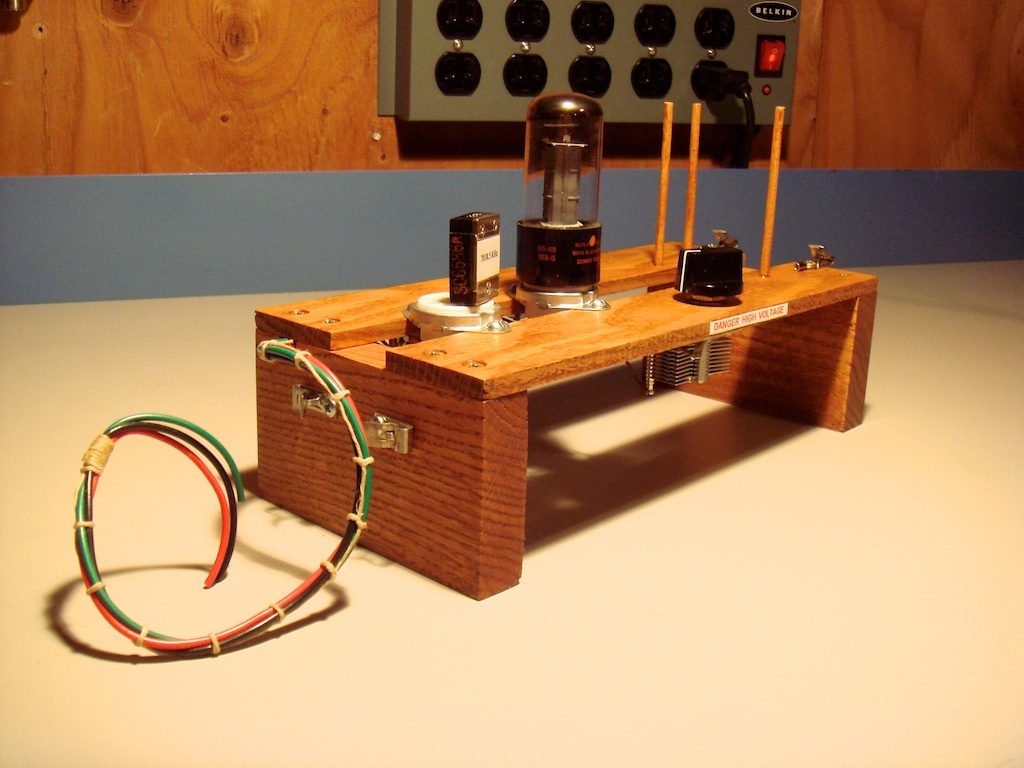
- Assembled and ready for the final step
-
- The lost art of cable lacing, really fun to do
-
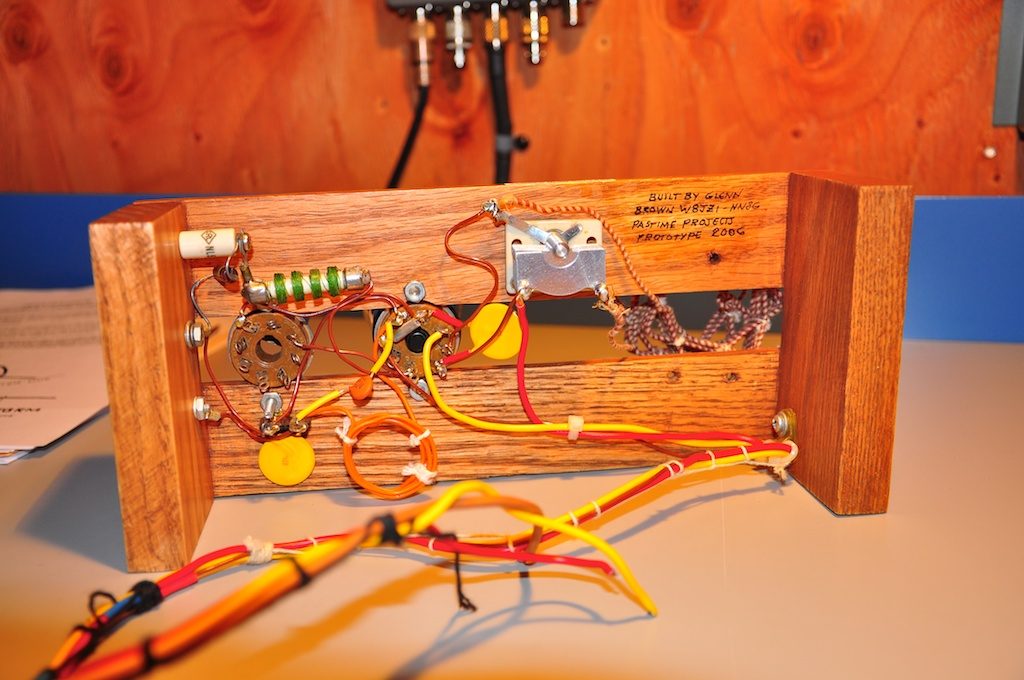
- Glenn’s prototype build
-

- W1UJR build
-

- Glenn’s and the W1UJR rig side by side
-
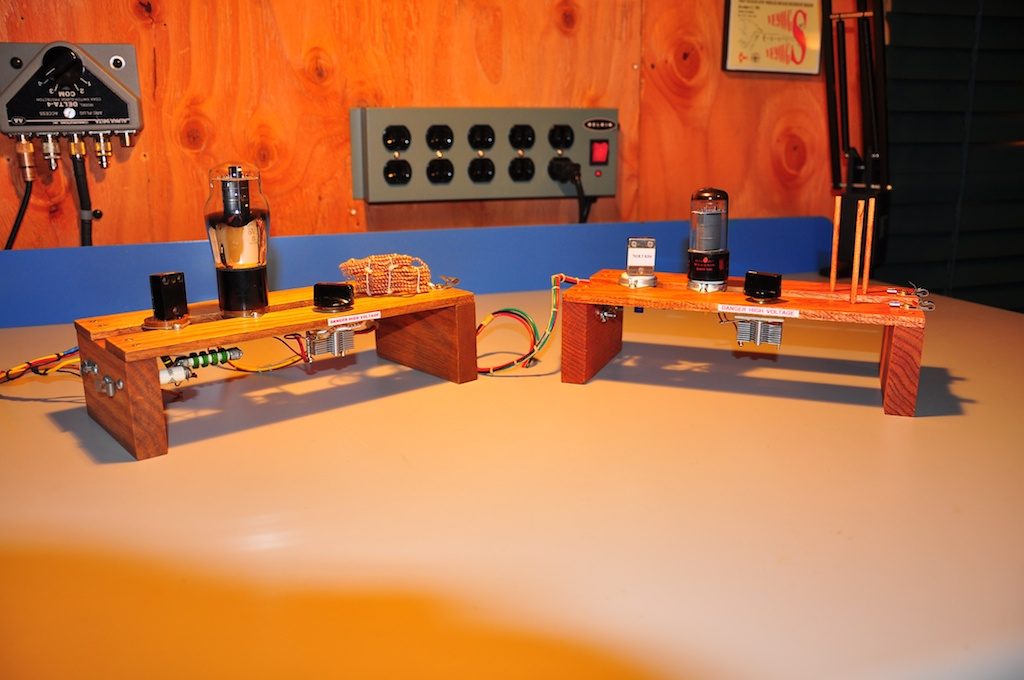
- Glenn’s and the W1UJR rig side by side
-

- Glenn’s and the W1UJR rig side by side
-
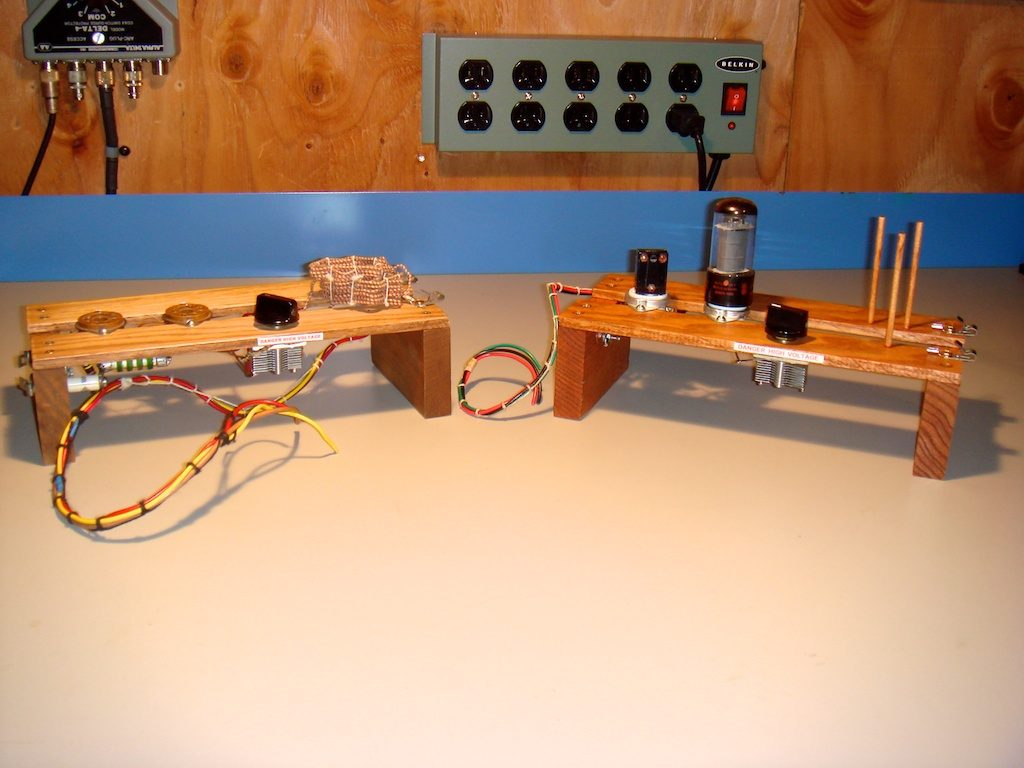
- Glenn’s and the W1UJR rig side by side
-
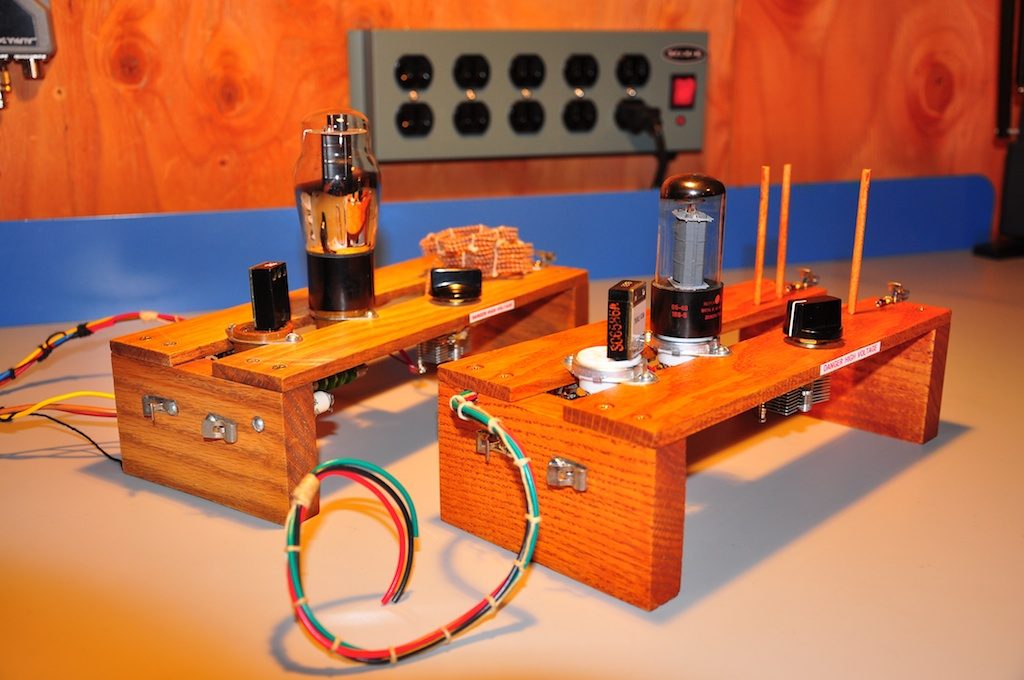
- Glenn’s and the W1UJR rig side by side
-
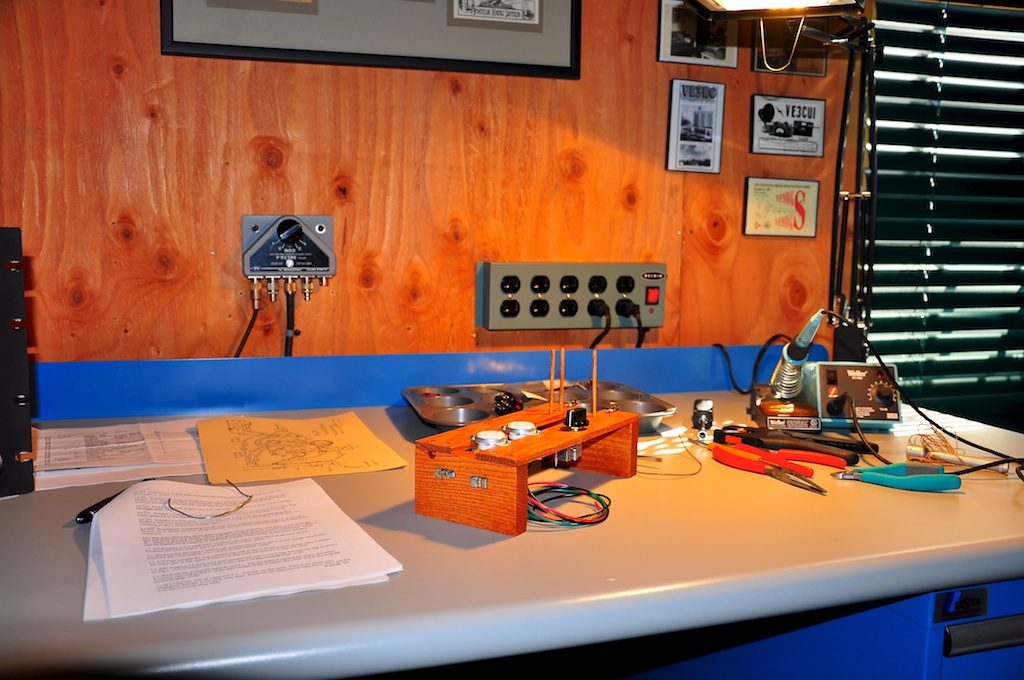
- W1UJR workbench
Recent Comments